Edraw Support Center
Get quick answers and step-by-step instructions in our support center.
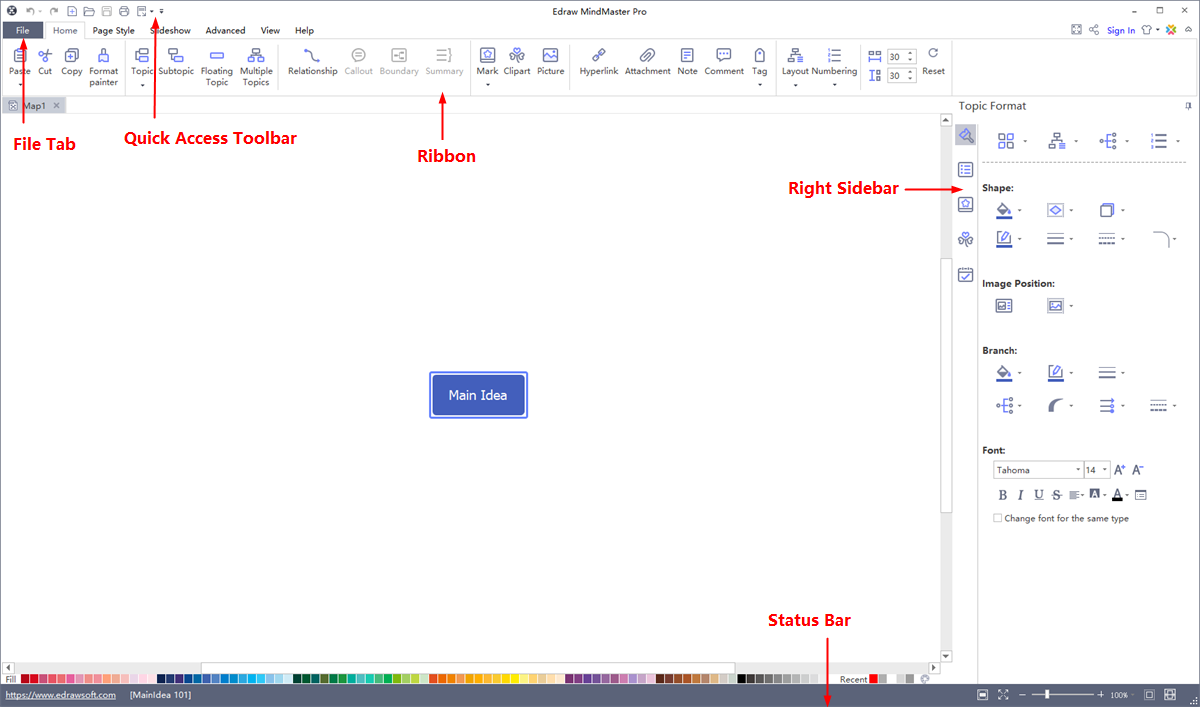
User Interface Overview
The interface shows the window where you can create mind maps. Here you can see File Tab, Quick Access Toolbar, Ribbon, Right Sidebar and Status Bar.
Quick Access Toolbar
On the quick access toolbar, you can find quick tools, including Undo/Redo, Create a New Map, Open Files, Save, Print and Export. You can click the down triangle next to Export icon and check or uncheck the corresponding options to hide or add any of these buttons. You can also choose to place the quick access toolbar on the top or at the bottom of the ribbon.
Ribbon
- Home Tab
- Page Style Tab
- Slideshow Tab
- Advanced Tab
- View Tab
- Help Tab
On Home tab, you can choose to insert topics, relationships, callouts, marks, clipart, images, hyperlinks, attachments, notes, comments or tags into mind maps. You can also change map layouts, number your topics, and set horizontal or vertical distances.

The Page Style tab is where you can format your mind maps. You can select a theme, choose theme fonts and theme colors. You can also choose rainbow styles, give your mind map a hand-drawn look, edit or remove backgrounds, and customize your own watermarks.

On Slideshow tab, you can create slides one by one, or auto-generate your slides based on the branches. Feel free to edit or remove any content in your slide pages. Once it's finished, you can preview your work in full screen, then export it to PPT or print it out.

On Advanced tab, you can create, edit and export Gantt Charts. You can enable the functions of Find & Replace and Spelling Check, or add font symbols to your maps. In case of unexpected situations (e.g. laptop power-off), File Recovery will help you save your work.

The View tab shows different view options for your work. You can display your maps in different levels, or focus on single topics or branches. Besides, you can zoom in or out your maps and make your maps fit to the canvas.

On Help tab, you can easily find related guides for reference via Tutorial, FAQ, Contact Us and Shortcut Key. There are also buttons for software activation, deactivation, updates and web version.

Right Sidebar
- Format Panel
- Outline Panel
- Mark Panel
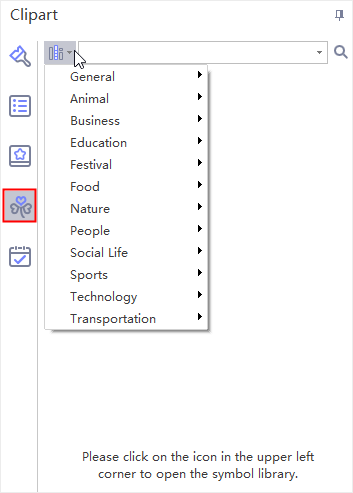
- Clipart Panel
- Task Panel
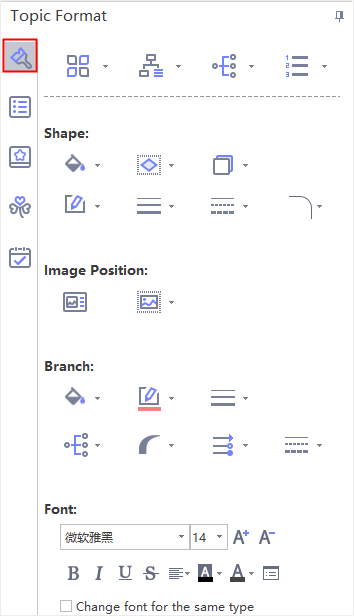
The right sidebar has 5 tabs in total: Format, Outline, Mark, Clipart, and Task. On Page Format panel, you can change your maps' styles, layouts, colors, themes, rainbows, etc. Besides, you can edit your map backgrounds and watermarks, or switch to Hand-Drawn style.
 |
 |
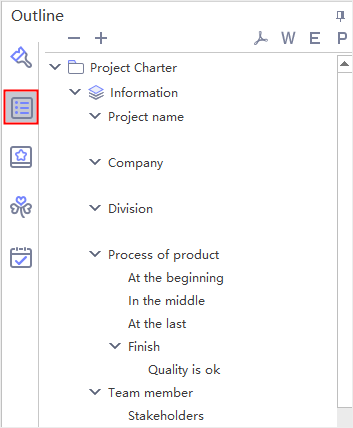
On Outline panel, you can choose to either show or hide your maps in text outline mode. In the top right corner, you can export the outline to PDF, Word, Excel or PPT by clicking the mini buttons.
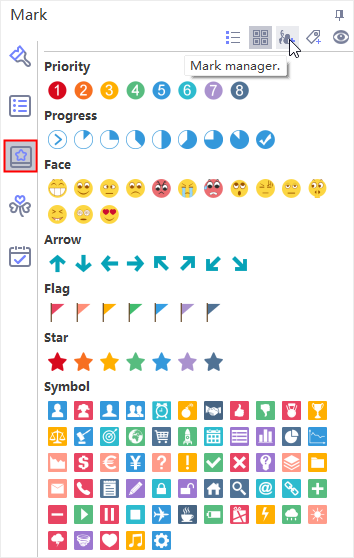
On Mark panel, you can see commonly-used marks for mind maps such as Priority, Progress, Face, Arrow, Flag, and Star. You can add and manage your own mark groups by clicking Mark Manager button in the top right corner.
On Clipart panel, you can get a large number of original designed symbols and icons to decorate your mind maps. You can browse by categories or search for your preferred ones in the top search box.
On Task panel, you can add task information to topics, such as start and end dates, duration, resources, priority, and progress. You can also switch to Gantt view by clicking Gantt button.
