Edraw Support Center
Get quick answers and step-by-step instructions in our support center.
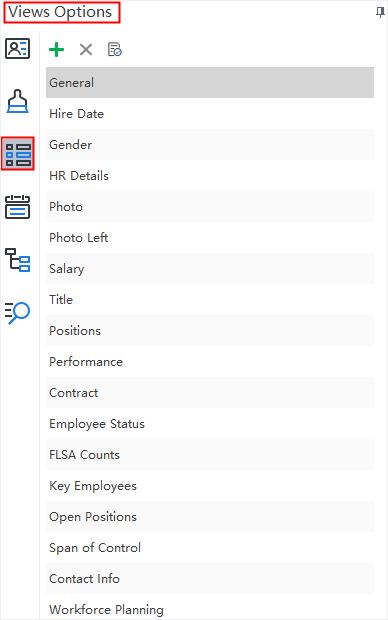
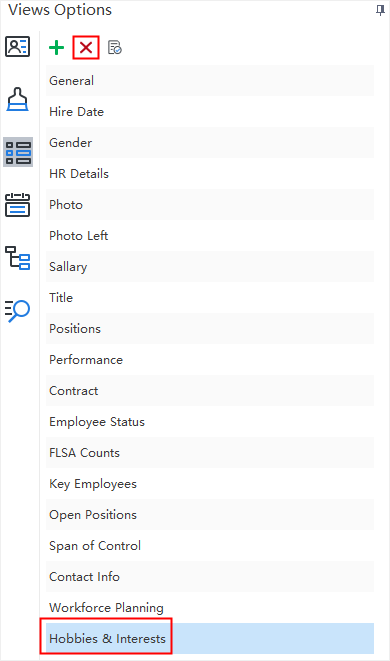
Views Options
The Views Options provide a lot of choices to display your data. The individual chart elements and data excluded from your choice are hidden in this mode.
This area is located at the right-side panel. Usually, the company organizational charts contain massive information on different categories. However, a person at a specific position may not always want to see all the data. For example, if you are an HR, you can click HR Details to view the information about human resources only.
Add New View
Please note that the view options displayed on the picture above are predefined and cannot be deleted. You can add new views to your org charts and the customized views are deletable.
Follow the steps below to add a new view:
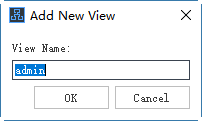
- Go to Views Options on the right sidebar, click Add New View button
 .
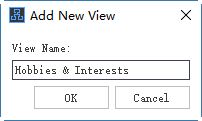
. - Edit the name of the new view and click OK. Here I name it “Hobbies & Interests”.
- The new view appears at the bottom of the predefined views.
If you need to delete the customized view, select the view and click the Delete Selected View button .
.
Note: When there is no customized view, the Delete Selected View button is gray, and it turns red if a customized view is selected.
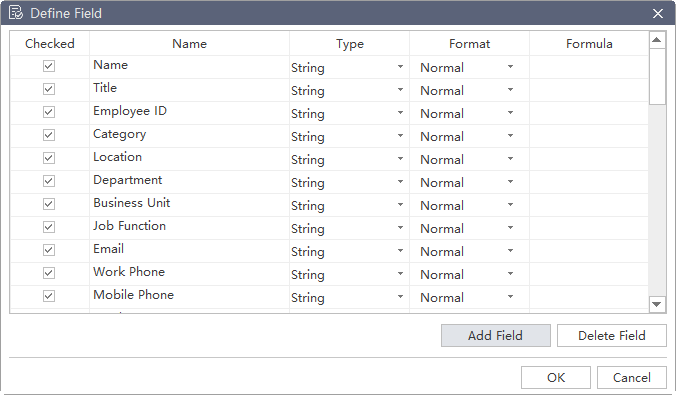
Define Field
The Define Field function supports to define a new data field that is not covered in the predefined data fields. The newly defined data field will be saved in the Data Field panel with the predefined ones, and can be added to your chart or the custom view anytime.
The steps below will tell you how to add customized field to the org chart:
- Go to the Views Options on the right sidebar, click the Define Field button
 . The Define Field window will pop up.
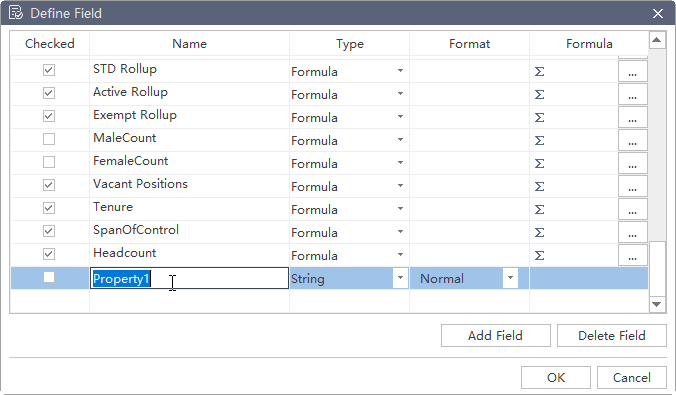
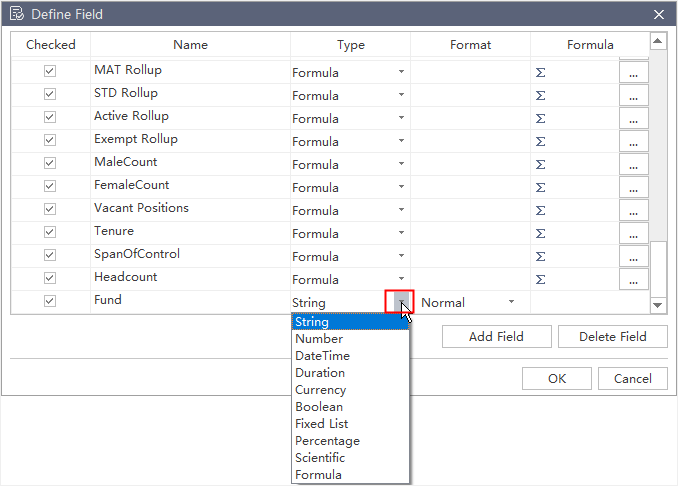
 - Click Add Field. A new field “Property 1” appears at the bottom of the predefined data fields. Double click and rename the newly added field. Here I name it “Fund”.
- Click the triangle to choose the data type in the drop down menus.
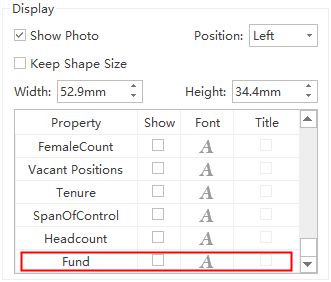
After you have checked the newly added field, you can choose to display it in the Display Options or not.