How to Create a Flyer Quickly
Part 1: What is A Flyer?
Flyers are a sheet of paper with text and images printed on it with the purpose of drawing an audience's attention to a product, service, or event. It is usually given out to people, such as on the street or in shopping malls, and even placed in their letterboxes. They are usually small in size - around A5-sized - making them a cost-effective option for the promotion of products, services, and events.
Flyers are especially useful for business owners looking to promote their offerings. They are an inexpensive, easily mass-produced way to advertise their business or idea. If they are being handed out personally to an audience, it can even present the creators with a valuable feedback opportunity.
Part 2: Tips to Make a Flyer
Before starting the flyer design, here are some tips to make wonderful flyers. To get a fashionable and effective flier design, bear the following points in mind.
Tip 1: Figure out your purpose and target audience, then collect relevant information for prepartion.
Tip 2: Post easy-to-read contents that the audience can understand easily.
Tip 3: Make use of clip arts, images and pictures as well as letters.
Tip 4: Be conscious of color assortment.
Tip 5: Make sure the layout is clean and concise.
Tip 6: Before printing, show it to others and ask for opinions.
Part 3: How to Create a Flyer
If you are a flyer producer, you need detailed information on products and services, features, selling points and corresponding operations, etc. In addition, high-quality illustrations, images and pictures that match the theme need to be prepared in advance. Getting the information and other elements well organized is the precondition of making an effective flyer.
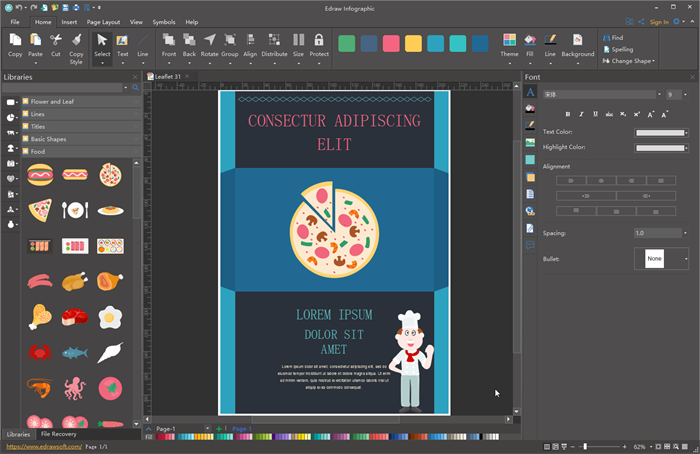
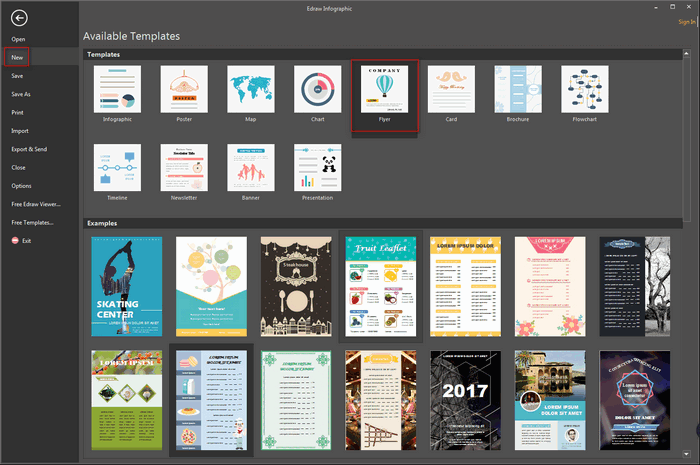
Start Flyer Creator
Step 1: Open Edraw Infographic from your computer, and navigate to [New] > [Flyer]. Choose a pre-made flyer template or the blank canvas.
Set the Size
Step 2: The size of the flyer is not fixed, but A4 and A5 are common formats. On Page Layout tab, set the size and proportion of the flyer with "Auto Size", "Page Size"and "Orientation" button. You can choose various default size or custom size by clicking "Page Setup" button.

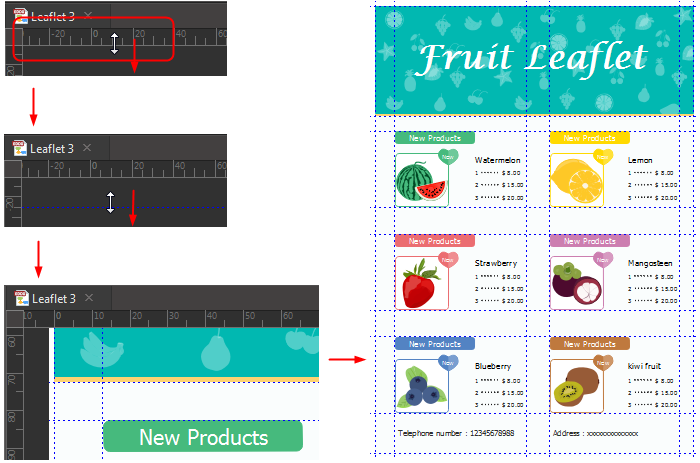
Set the Layout
Step 3: Set the layout of your flyer and measure the size by using rulers, gridlines, and guidelines. You need to drag the layout gridlines to set the margins of the page or divide the page into sections for accurate placement of texts and images.
- Have a blueprint of the flyer in your mind - how to arrange various elements such as headings, body texts, and graphics in the flyer.
- Place guidelines: Drag rulers from horizontal and vertical margins to create corresponding guidelines.
- Move guidelines: Click on the guideline and it will turn green, and move it to your desired place by the drag-and-drop operation.
Note: You can choose whether or not to display rulers, guidelines and gridlines by clicking "Show / Hide" on the "View" tab.
Add Content and Images
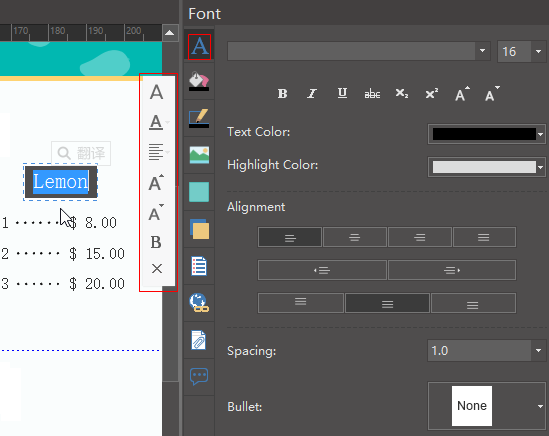
Add Text
Step 4.1: Go to "Home" tab and click "Text" to use the text block tool. Input your content in the text block. Customize the attributes of your text in "Font" panel from the sidebar.
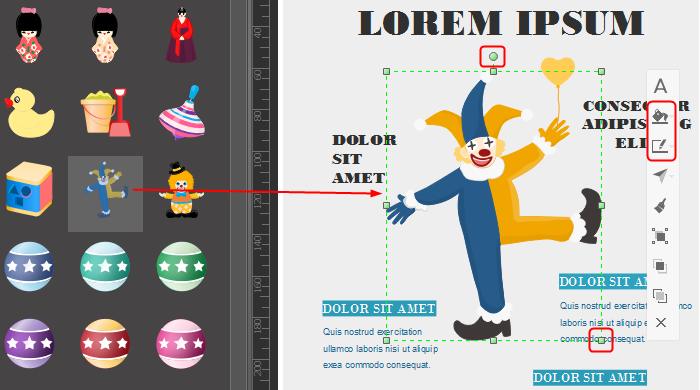
Add Clip Arts
Step 4.2: Open the libraries of clip arts from the left of the canvas. Choose the clip arts and shapes you need. Drag and drop them to the canvas. Customize the elements you have chosen instantly with the following operations: rotate, fill, size, align style and layer etc.
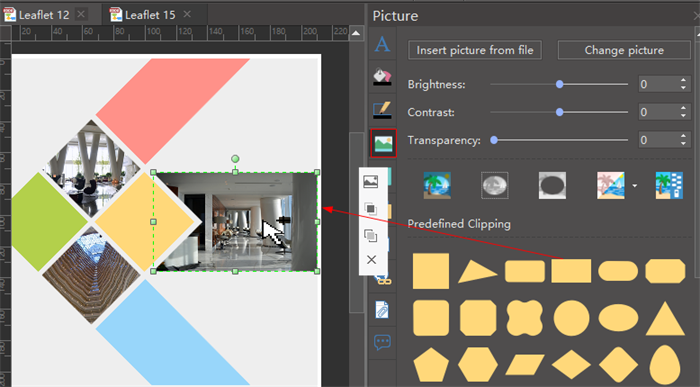
Insert Your Own Images
Step 4.3: On "Picture" panel of the right sidebar, click "Insert picture from file" and choose an image from local files. Crop the image into the shape you prefer and beautify it with tools on "Picture" panel.
Create Stunning Infographics with Edraw Infographic
- Easy-to-use and beginner-friendly
- Various stylish ready-made templates to get started quickly
- Beautiful clipart and numerous symbols to freely customize
- Seamlessly compatible with a variety of file formats
- Export, print, and share your amazing infographics with ease
Export, Share and Print Flyers
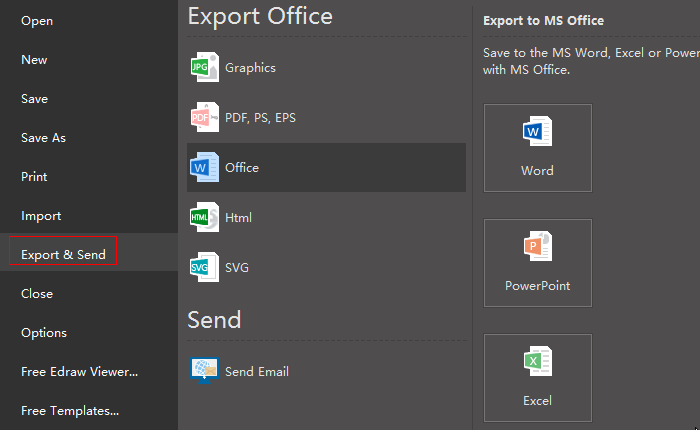
Step 5.1: When you've finished the design of your flyer, you can export and save it to various formats such as JPG, PDF, MS Office file formats, SVG, Visio.
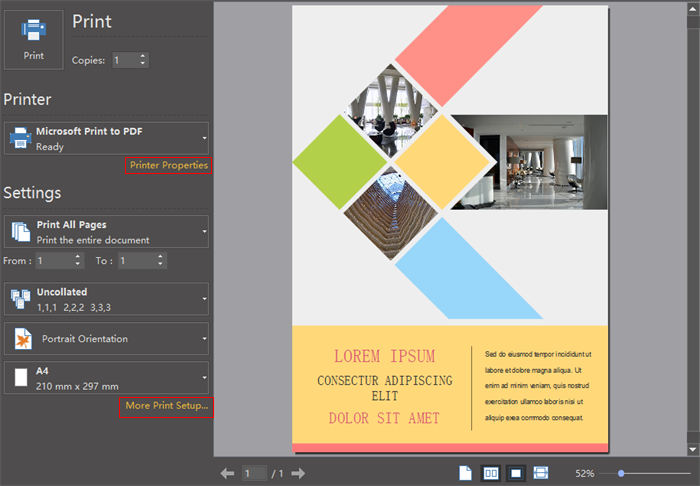
Step 5.2: Go to "File" tab and choose "Print" or click "Print" button on the quick access bar, you can see the print preview in the print setup interface. You can check all the pages with the arrow on the page under the preview. If the flyer is larger than the printing sheet, it will be printed on more than one piece. If you want to see the overall effect on one sheet, click "More Print Setup" and choose"Fit to 1 Sheet".
Part 4: Flyer Examples
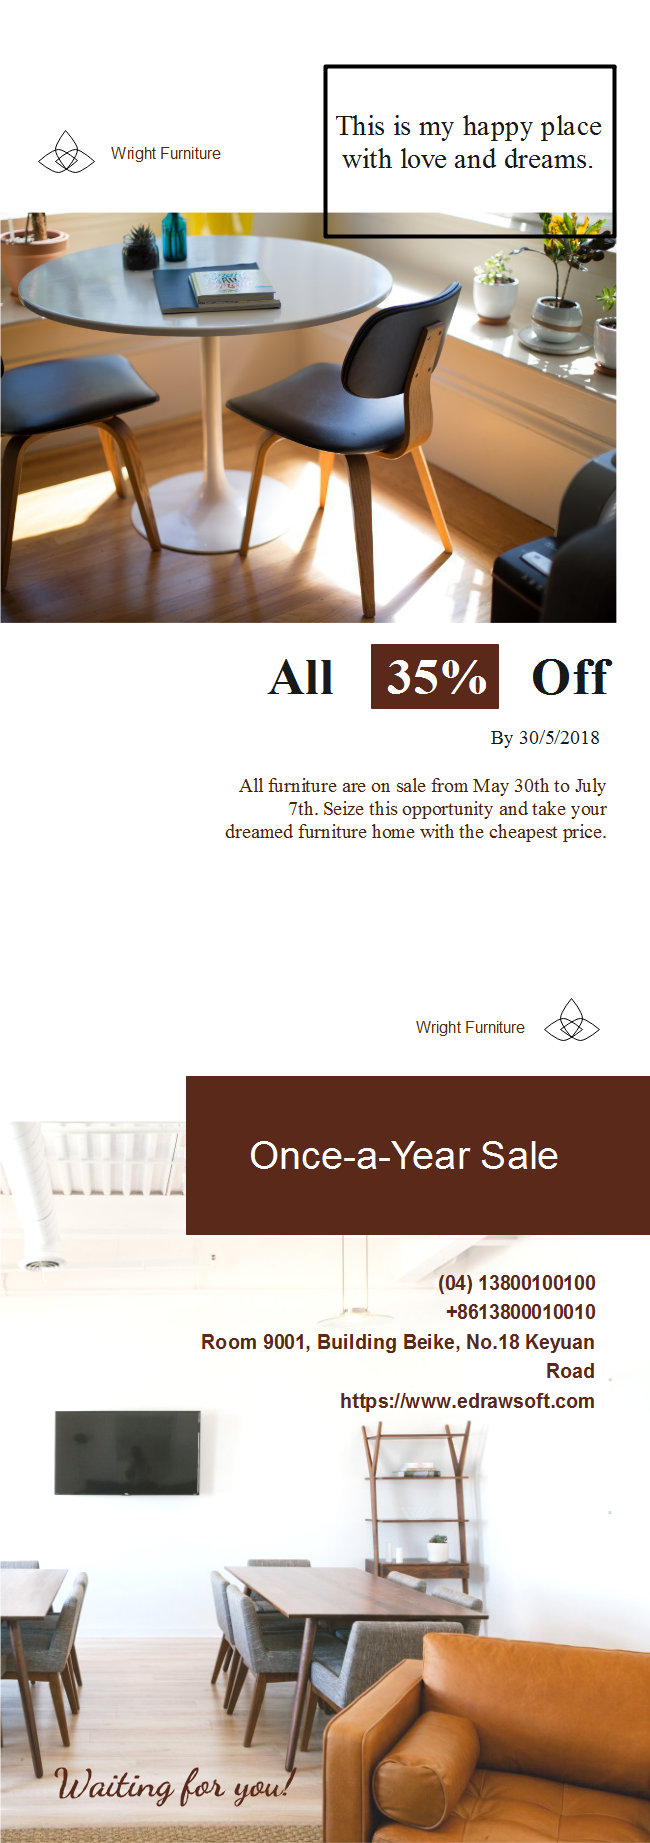
Example 1: Furniture Sale Flyer
Example 2: School Musical Festival Flyer

You May Also Like:


