Create Floor Plans on Mac
Do You Want to Create Your Floor Plan?
EdrawMax specializes in diagramming and visualizing. Learn from this article to know everything about how to create your floor plan with ease. Just try it free now!
Learn how to create floor plan on Mac easily and quickly. Use powerful and easy-to-use floor plan software EdrawMax!
There are video tutorial and text tutorial provided for you, and you can follow them easily.
Here are the steps of the text tutorial, you can click the step that you have interest in and skip to know details. :)
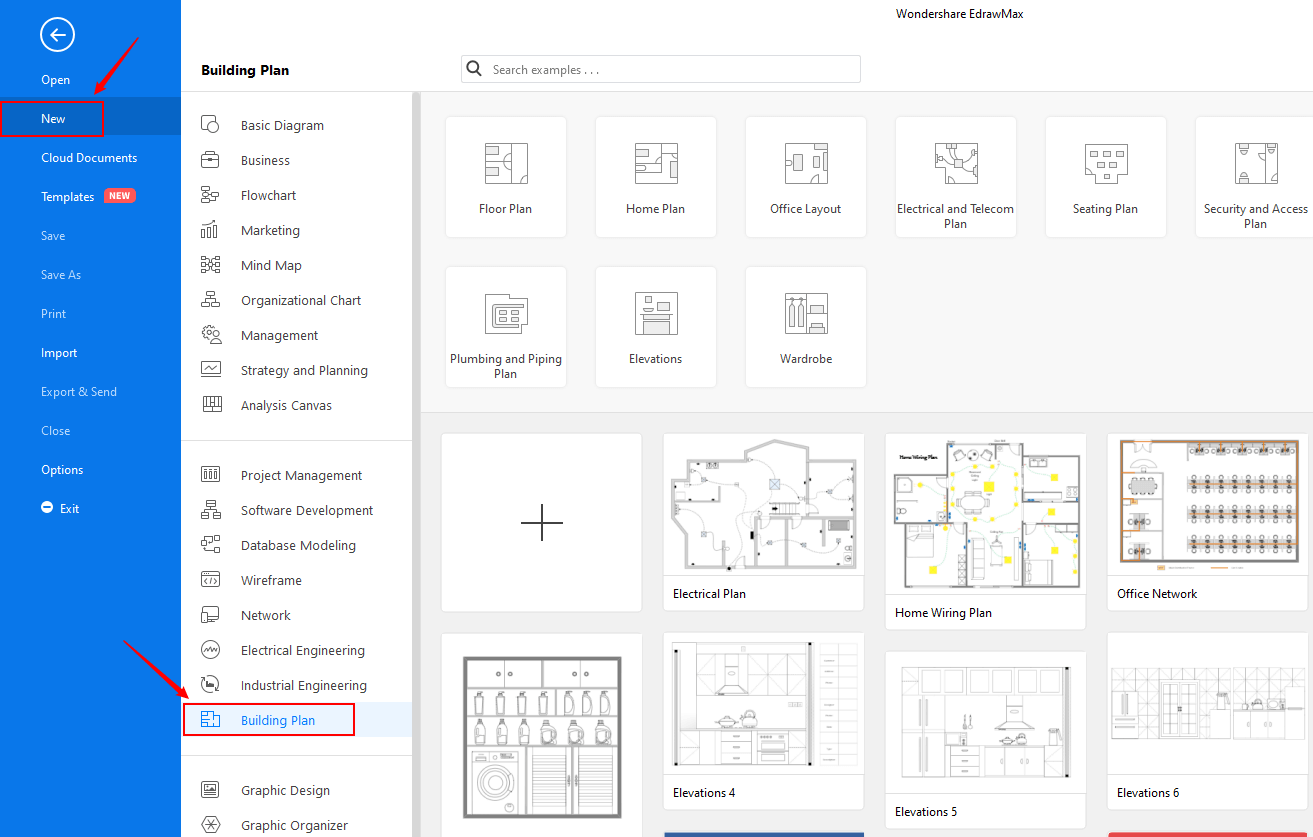
Step 1: Open a Drawing Page
Firstly, open a drawing page and the shape libraries will show up simultaneously. On the File menu, point to New, click Building Plan. Choose the type of floor plan you want and then double click its icon.
View Video - How to Create Floor Plan
Step 2: Set the Drawing Scale
Go to Floor Plan pane on the right of the canvas, find the Drawing Scale option, input a drawing scale value in the box or click the arrow besides the box to choose one scale from the drop-down menu.

Step 3: Add Floor Plan Shapes
- From the left libraries, drag and drop shapes to the canvas. As you drag or move a shape, the gridlines and dynamic blue guidelines help you align it with other shapes.
- Drag room shape or wall shape to form the exterior wall structure.
- Drag the white square/circle handles to resize floor plan shapes or double click the dimension text to type the length or width value.
- Connect the walls by dragging one wall to another. When the connection point turns into a white square, release the mouse and two walls will be glued. Intersections between two walls are cleaned up automatically.
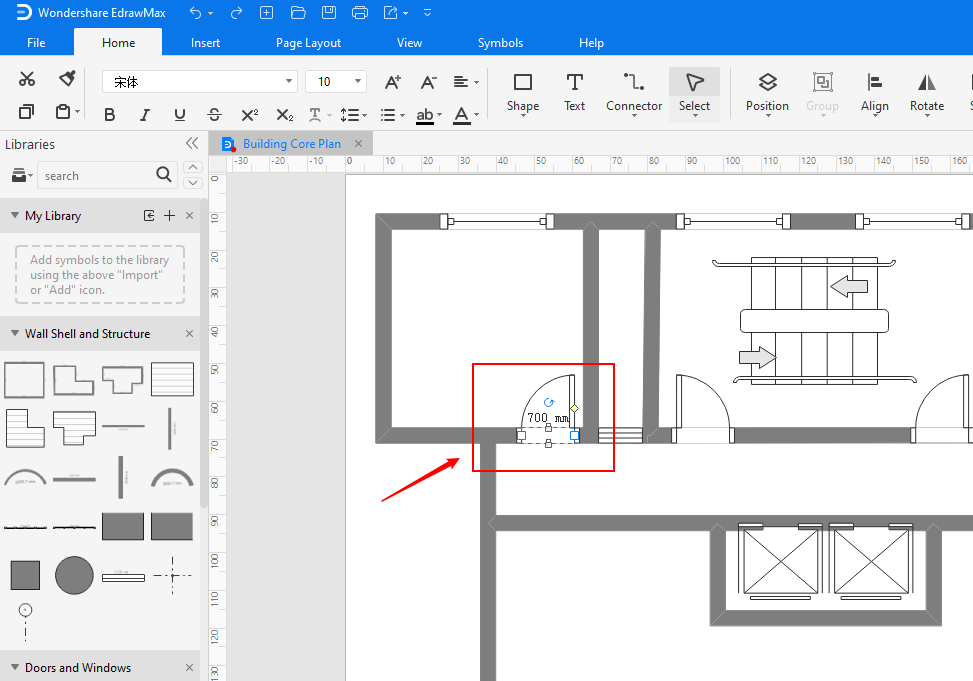
Step 4: Edit Floor Plan Shapes
Add more wall shapes to form the interior structure.
Drag a door shape and move it towards the wall. When the wall turns to dark red, release the mouse. The door will be automatically aligned and glued to the wall.
To set the opening direction, go to Home tab to click Rotate and Flip button. Drag the yellow control point to change the door opening angle and direction.
Change a shape's color and border by clicking any quick style under the Home tab in the Styles group.
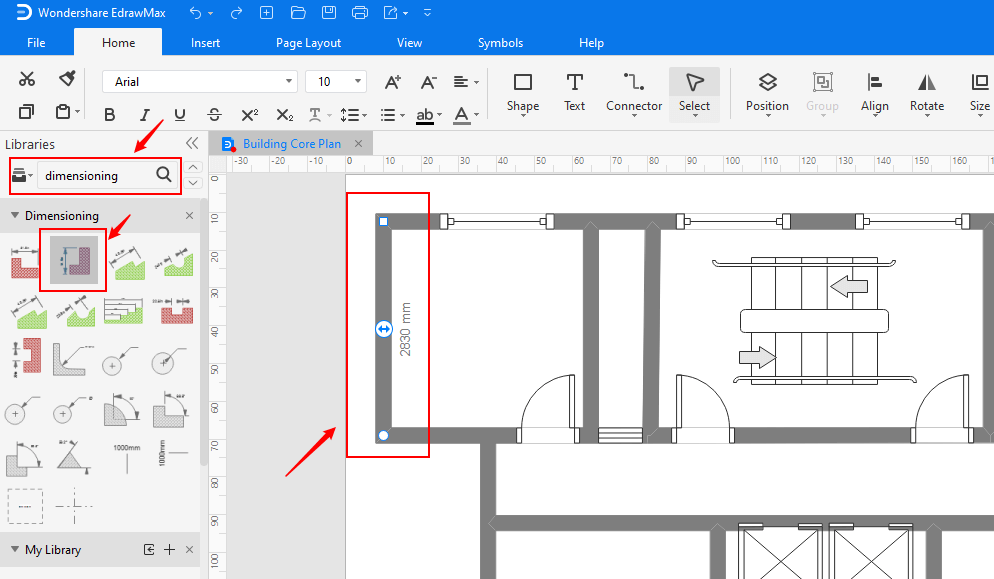
Step 5: Add Dimension Lines to Walls
Dimensions can be added to the floor plan to show precise measurement and scale. The dimensioning library has included lots of smart dimensioning symbols that enable users to draw interior dimension, exterior dimension, angular dimension, radius dimension and much more.
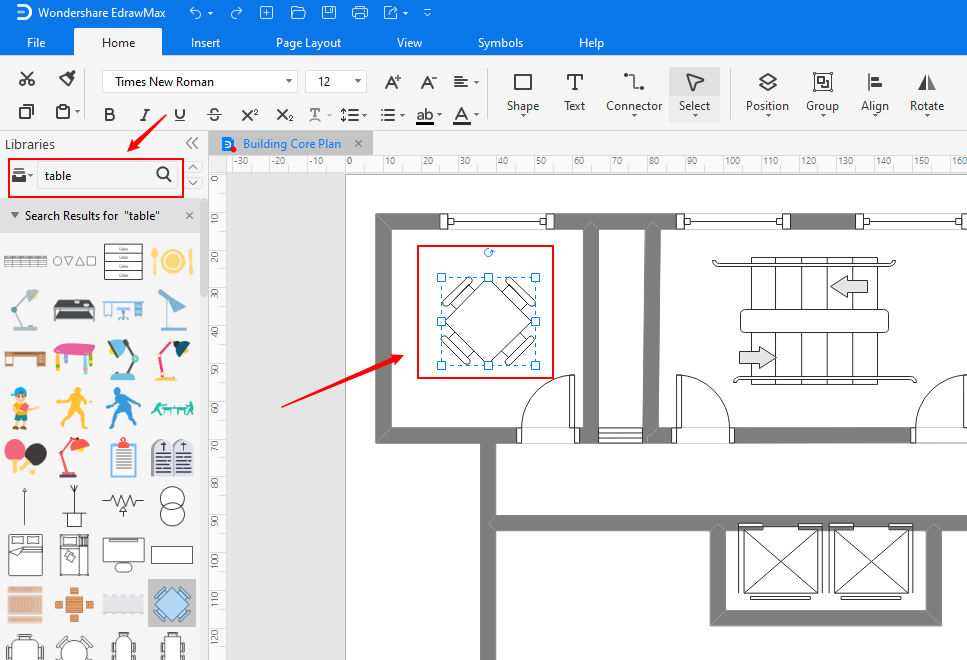
Step 6: Add Floor Plan Contents
Double click a shape or a table to type in text. If there is on built-in text box, you can click on the Text button on the Ribbon and draw blank text boxes on the canvas.
Choose a different font under Home tab. Customize the size, color and alignment by clicking the relevant menus. Click the arrow under Font Color for more Paragraph settings.
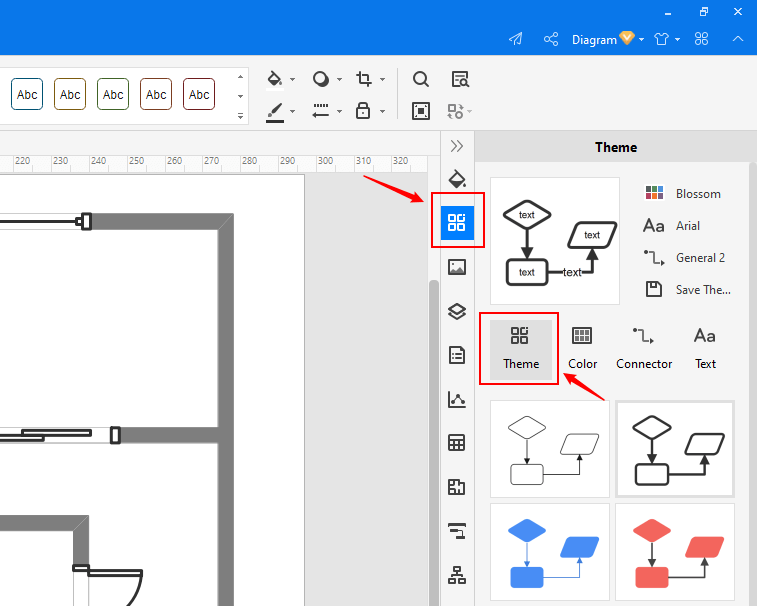
Step 7: Change Floor Plan Theme
By changing floor plan theme, go to the right Theme pane.
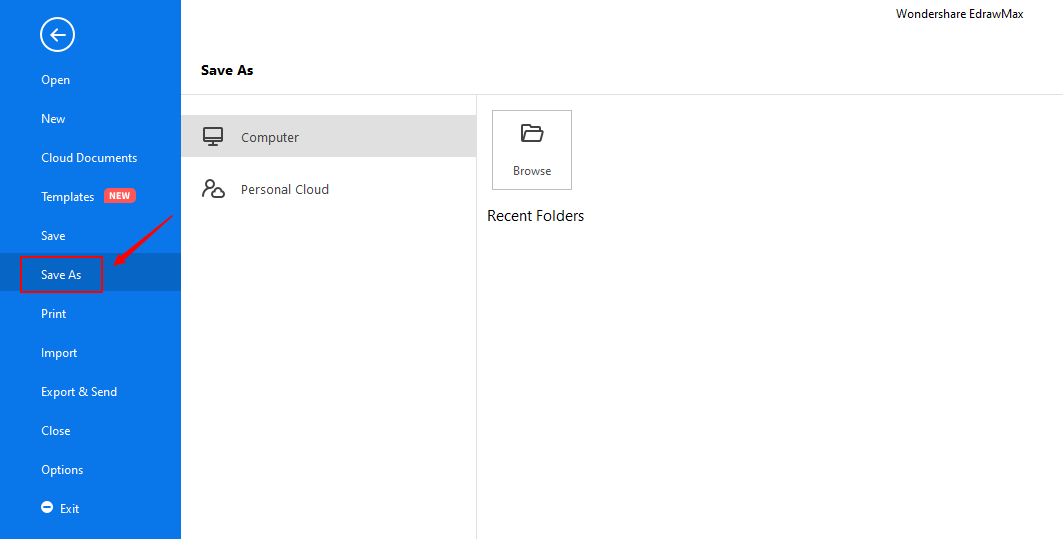
Step 8: Save or Export Floor Plan
Click Save on File tab to save as the default format. Choose Save As to decide where to save your documents.
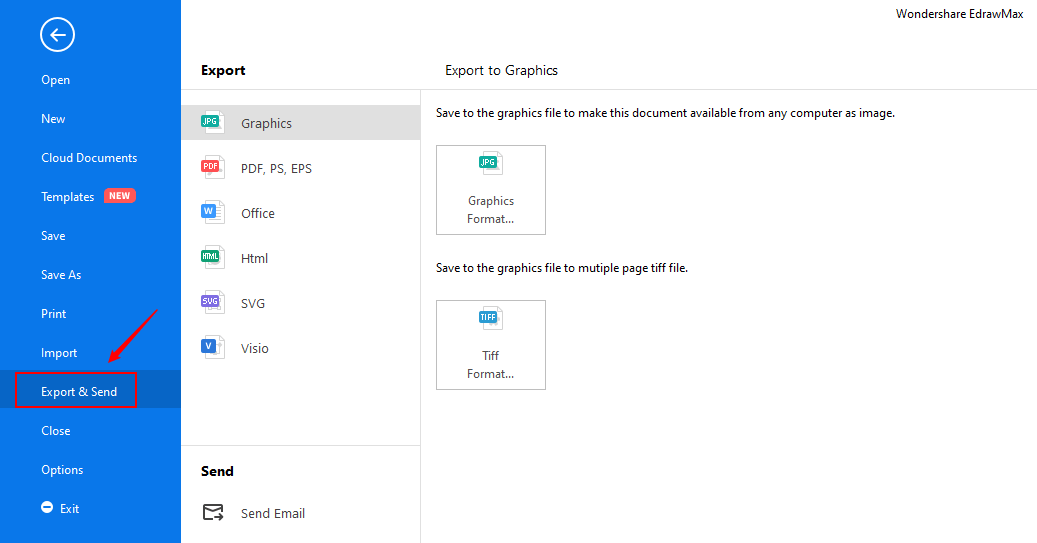
Hit Export & Send to export the floor plan as images, presentation slides and web documents and so on.
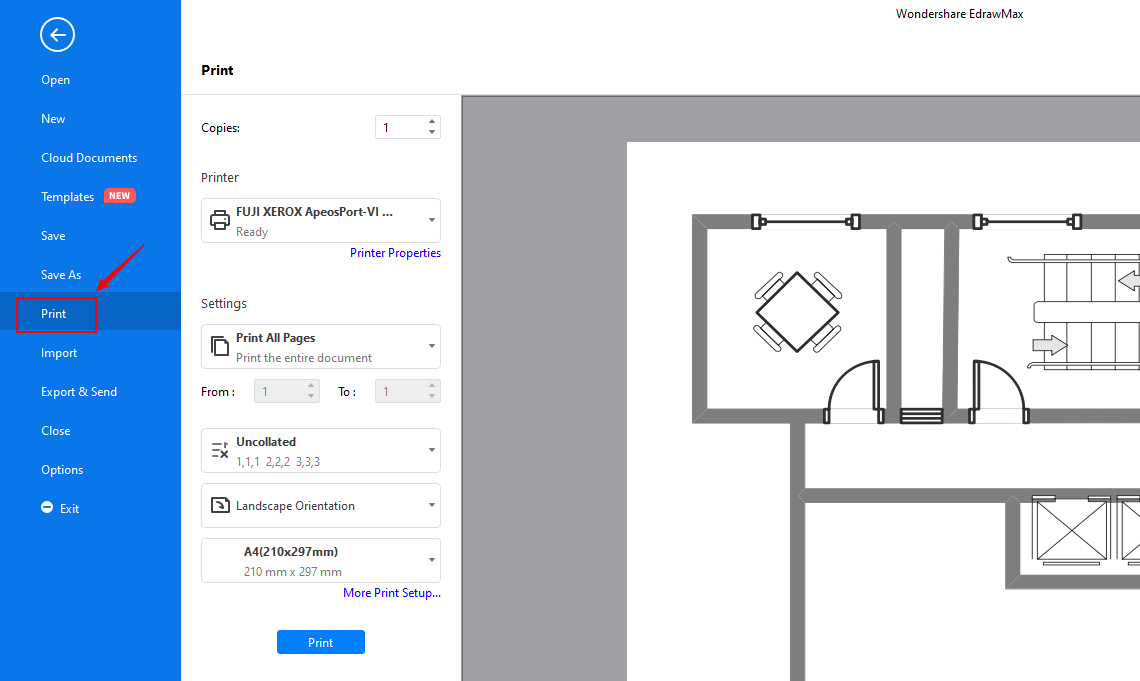
Step 9: Print Floor Plan
Click File tab; choose Print and then the print setting and preview window shows. You can choose which pages and how many copies to print here.
If the drawing page is larger than the print paper, the drawing will be printed on more than 1 paper. To print it on only 1 paper, click More Print Setup... and then choose Fit to.

An all-in-one platform for 210+ diagrams.
・ Simple alternative to Visio
・ 26k+ symbols
・ 10K+ free templates
・ 10+ AI diagram generators


More Related
How to Create Floor Plan for Word
How to Create Floor Plan for PPT


