Edraw Support Center
Get quick answers and step-by-step instructions in our support center.
Change Background and Watermark
To set background in a mind map, you can use either a background color or a background image. You can also add a watermark in your mind map.
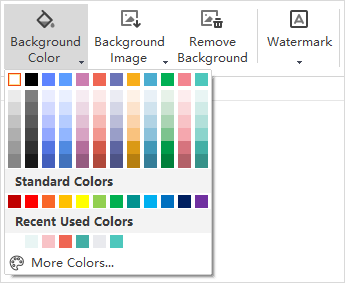
Change Background Color
Go to Page Style tab or Page Format pane, click Background Color button to fill background with a single color.
Insert Background Image
You can add a background image from the built-in gallery or from local files. Click Background Image button on Page Style tab or Page Format pane.
You can choose the image from the preset gallery or use your own images.
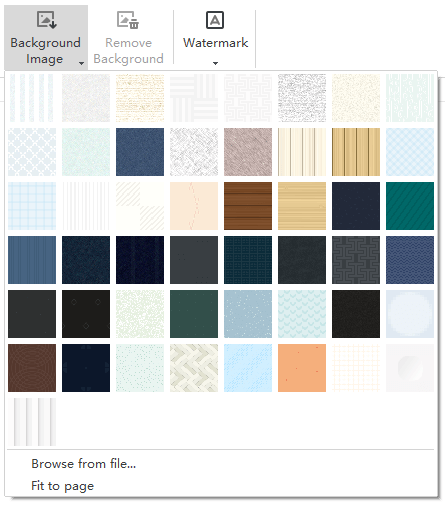
If you tick Fit to page, the image will fit the whole page. If you don’t tick this option, the image will keep its original size and tile the background with multiple copies.
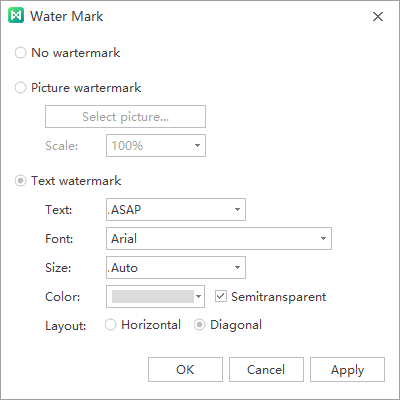
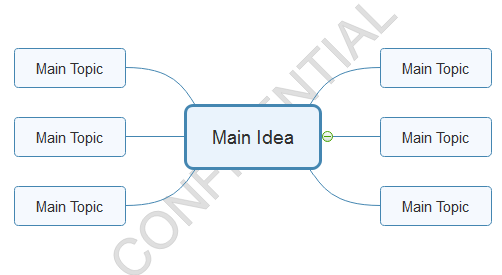
Add Watermark
To add watermark in your mind map, you can
- Click Watermark button under Page Style tab or on the Page Format pane.
- Choose a pre-made watermark in the drop-down menu.
- If you don’t like the pre-made ones, click Customize Watermark to create your own ones.
- In Water Mark window, adjust the text, font, size, color or layout of your watermark
- Click Remove Watermark when you don’t need it.